
Safety
I'm not quite sure where to categorize this subject. Eventually it ended up as a separate page. A Few Thoughts On Getting Un-Screwed.
Navigation
I still use paper maps as backups where possible/practical. That said I almost exclusively use my phone for navigation now. Please see Planning and Navigation for an explanation.
Update: I've left my Luddite ways behind and now use a Coros Dura as my primary navigation device.
Gravity Water Filter System


 | |||||
| Older bag and cap left. Newer bag and cap right. Sawyer adapter cap in center. I swapped newer cap onto older bag. |
I currently see no advantage to having a closed system and dealing with back pressure in the clean container. I just use an open system. The filter kit comes with 2 - 2 liter bags. I saved one for a backflush bag and cut the other into a water scoop for when there is not enough depth or flow to scoop water directly into the Drom bag. In silty water I prefilter through a bandana. I do end up having to backflush more frequently when filtering silty water. But I would have to clean a pump filter as much or more.


Pro's and cons of this system vs. my pump system
Pro's:
- Lightweight using equipment I already own.
- Set it up and go do something else while it's filtering, but watch it, it's quick with the HydroBlu cartridge.
- Don't have to filter water at the source. Just carry a bag of dirty water for later filtering.
- I like using it as a gravity filter but you can also thread the filter cartridge onto the dirty bag and squeeze it through the filter into a clean container.
- Available for purchase is an add on carbon filter that threads right onto the HydroBlu cartridge.
Cons
- A bit more fussy to set up than just pumping from the source.
- You cannot let freeze or drop the HydroBlu (or any hollow fiber tube type) filter cartridge.
- You have to carry a dedicated dirty water bag. Luckily you can carry it as part of your overall water capacity and filter it at will. For me its not really a detriment.
- You need a clean water backflush bag or bottle. Any collapsible bottle or bag with compatible threads to the HydroBlu cartridge will work.
*UPDATE 2023 I finally found a CNOC Outdoors 3L water bag. I'm using that now instead of the 4L MSR for my dirty water bag. This bag is easier to fill and easier to use. But the principle idea remains the same.
Power
I touch briefly on the subject on my navigation page. Through trial and error I have found that a 2 panel, 14 watt, dual USB outlet solar panel works best for my charging needs. Originally I had a 20 watt 3 panel. It worked great but it was too big to use while on the move. With the 2 panel I hang it over my front roll and can charge while on the move. If I have good sunny days I can usually top off all my devices during the day. I suspect it would work even better on a rear rack. I haven't tested the output of the panel but through actual use it has proven to be adequate. The documentation states max 2 amps overall. I also carry a spare 20,000 mAh external battery for those times I don't get enough sun. I decided against using a dynamo hub. Partly because in general I don't travel all that fast to make it work. A dynamo hub also has the disadvantage of not producing any power on days where I may take an extra day in camp. Pedal Cell is another option although I have no experience with it. It gets great reviews and I am intrigued enough with it that I'll probably try it some day. Note that Pedal Cell recommends against using it with carbon rims.

Beer Can Alcohol Stove
This guy explains how to make one better than I can so follow his directions. Super simple, effective, cheap and you can get your materials from most any roadside. Uses de-natured alcohol for fuel. Available almost anywhere in almost any country. I wouldn't try to use it as a mountaineering stove but would be fine for backpacking/mild conditions use. I needed a way to snuff it out when done cooking. Eventually I settled on a slightly cut down plastic yogurt cup. Which is not to say you should. Done quickly and with authority I've never come close to melting the cup. It snuffs out almost instantaneously. As in I cover the beer can stove and immediately remove it. As long as no air can funnel in under the cup you're good. Don't try this if you have the stove on a stand or anywhere air can enter! I always just cook on the solid ground. Sounds sketchy I know but works every time for me. After snuffing it out you can easily recover any un-used fuel by simply pulling the two halves apart and pouring the un-used fuel back into its container.

Twig Stove
Love this thing. I sometimes combine it with my beer can alcohol stove for backup. We even roasted mini sausages over it for a treat! I don't carry the alcohol cup or cup holder that it comes with.
Pro's:
It's very compact (tho not super light)
In the usual bikepacking terrain you'll never run out of fuel.
Cons:
As stated above , not super light but certainly not heavy.
Needs attention gathering and adding fuel.
Soot.
Can't use it during fire restrictions.

Bloody genius!! But honestly more useful in a group setting. When solo I seem to use my headlamp more. In short, I generally leave it at home unless car camping.

Carabiners - Always carabiners!
If you're anything like me, I always need a way to clip things here/there, anywhere. On the move and in camp. I personally don't like or use the mini - non load rated key ring type 'biners. I use my ultra lightweight full size climbing 'biners.


Ear Plugs
For noisy campsites, barking dogs, windy tent flapping nights or high OATF!
Big stretchy Rubber Bands
A great way to lash misc items, keep things in a small bundle and wrap your pant leg to keep the big ring from ripping the cuff!


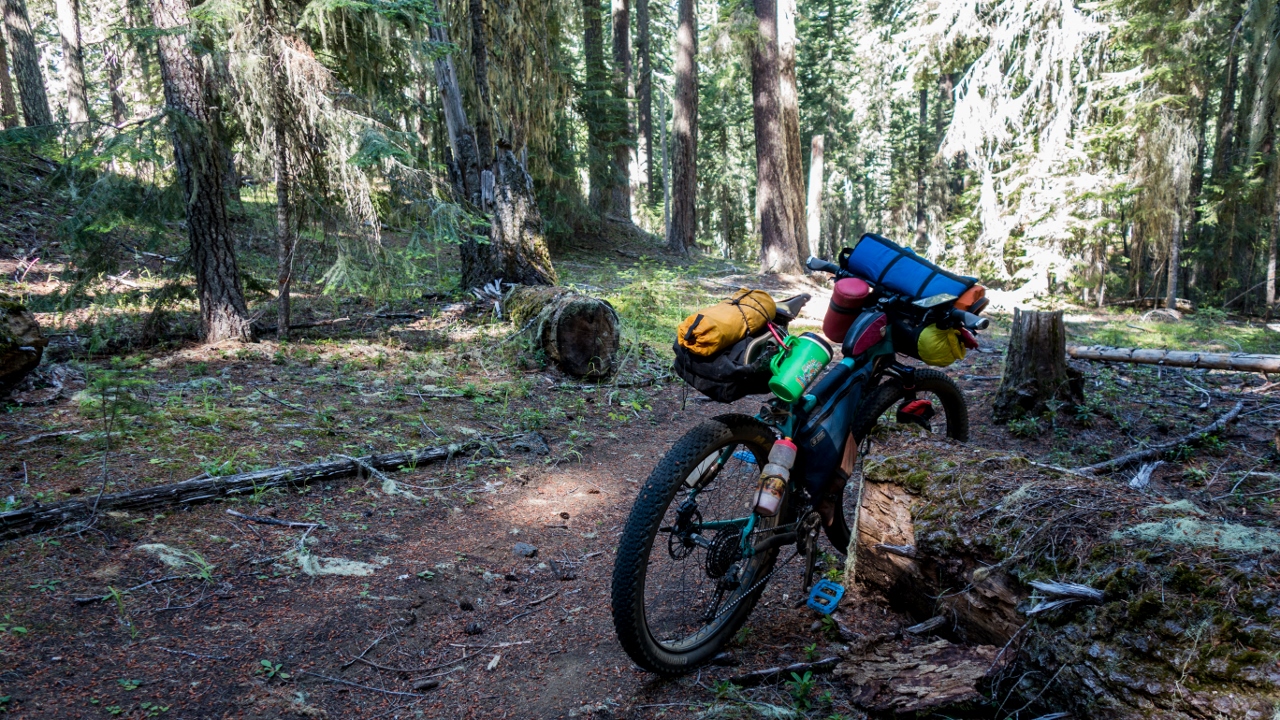
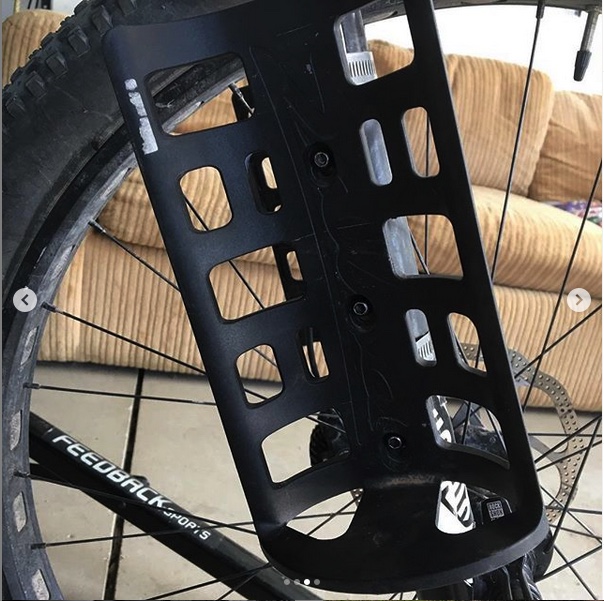
Pack stand
And why, you ask, do I have a ski pole basket lashed to my bike?? I modified an old telescoping trekking pole to be a bike stand. Invaluable for packing the bike when there's nothing to lean the bike on. Also for helping to raise for your food bag when hanging your food for the night. Fends off aggressive dogs. Great for tarp shelters.
*Update: I ditched the ski basket in favor of trekking basket. The ski basket was often too large to allow the tip of the pole to adequately engage the ground because of the leaning angle. Particularly on harder ground.


Use Those Tubes.
Should have posted this a long time ago. For various reason you may still be riding with tubes vs. tubeless. And you should carry a spare tube if you're tubeless as well. Here's how to save a substantial bit of weight. I don't carry a tube that is specifically sized for the tire I'm using. This is most beneficial for fat bikers. I have found that normal 26x2.3 tubes work fine for all tire sizes up to at least 26x4". I haven't tried 27x4" or 26x4.6 and above. I have however accidentally grabbed a 29x2.2 and happened to flat my 26x4.6 tire on 90mm rims (tubed) that day. The 29er tube worked great with no issues whatsoever. Fat tubes are extremely heavy and I never carry one for a spare. To summarize, I only carry 26" tubes for spares (with the 29er exception noted above). I've used them for 27.5x 2.5, 29x3.0, and 26x4" with no no issues. Going to 26x4.6 on rims wider than 80mm may be pushing the envelope (I need to try it!) but 29er tubes work great. I've never seen much less used Tubolito so can't comment on their utility.
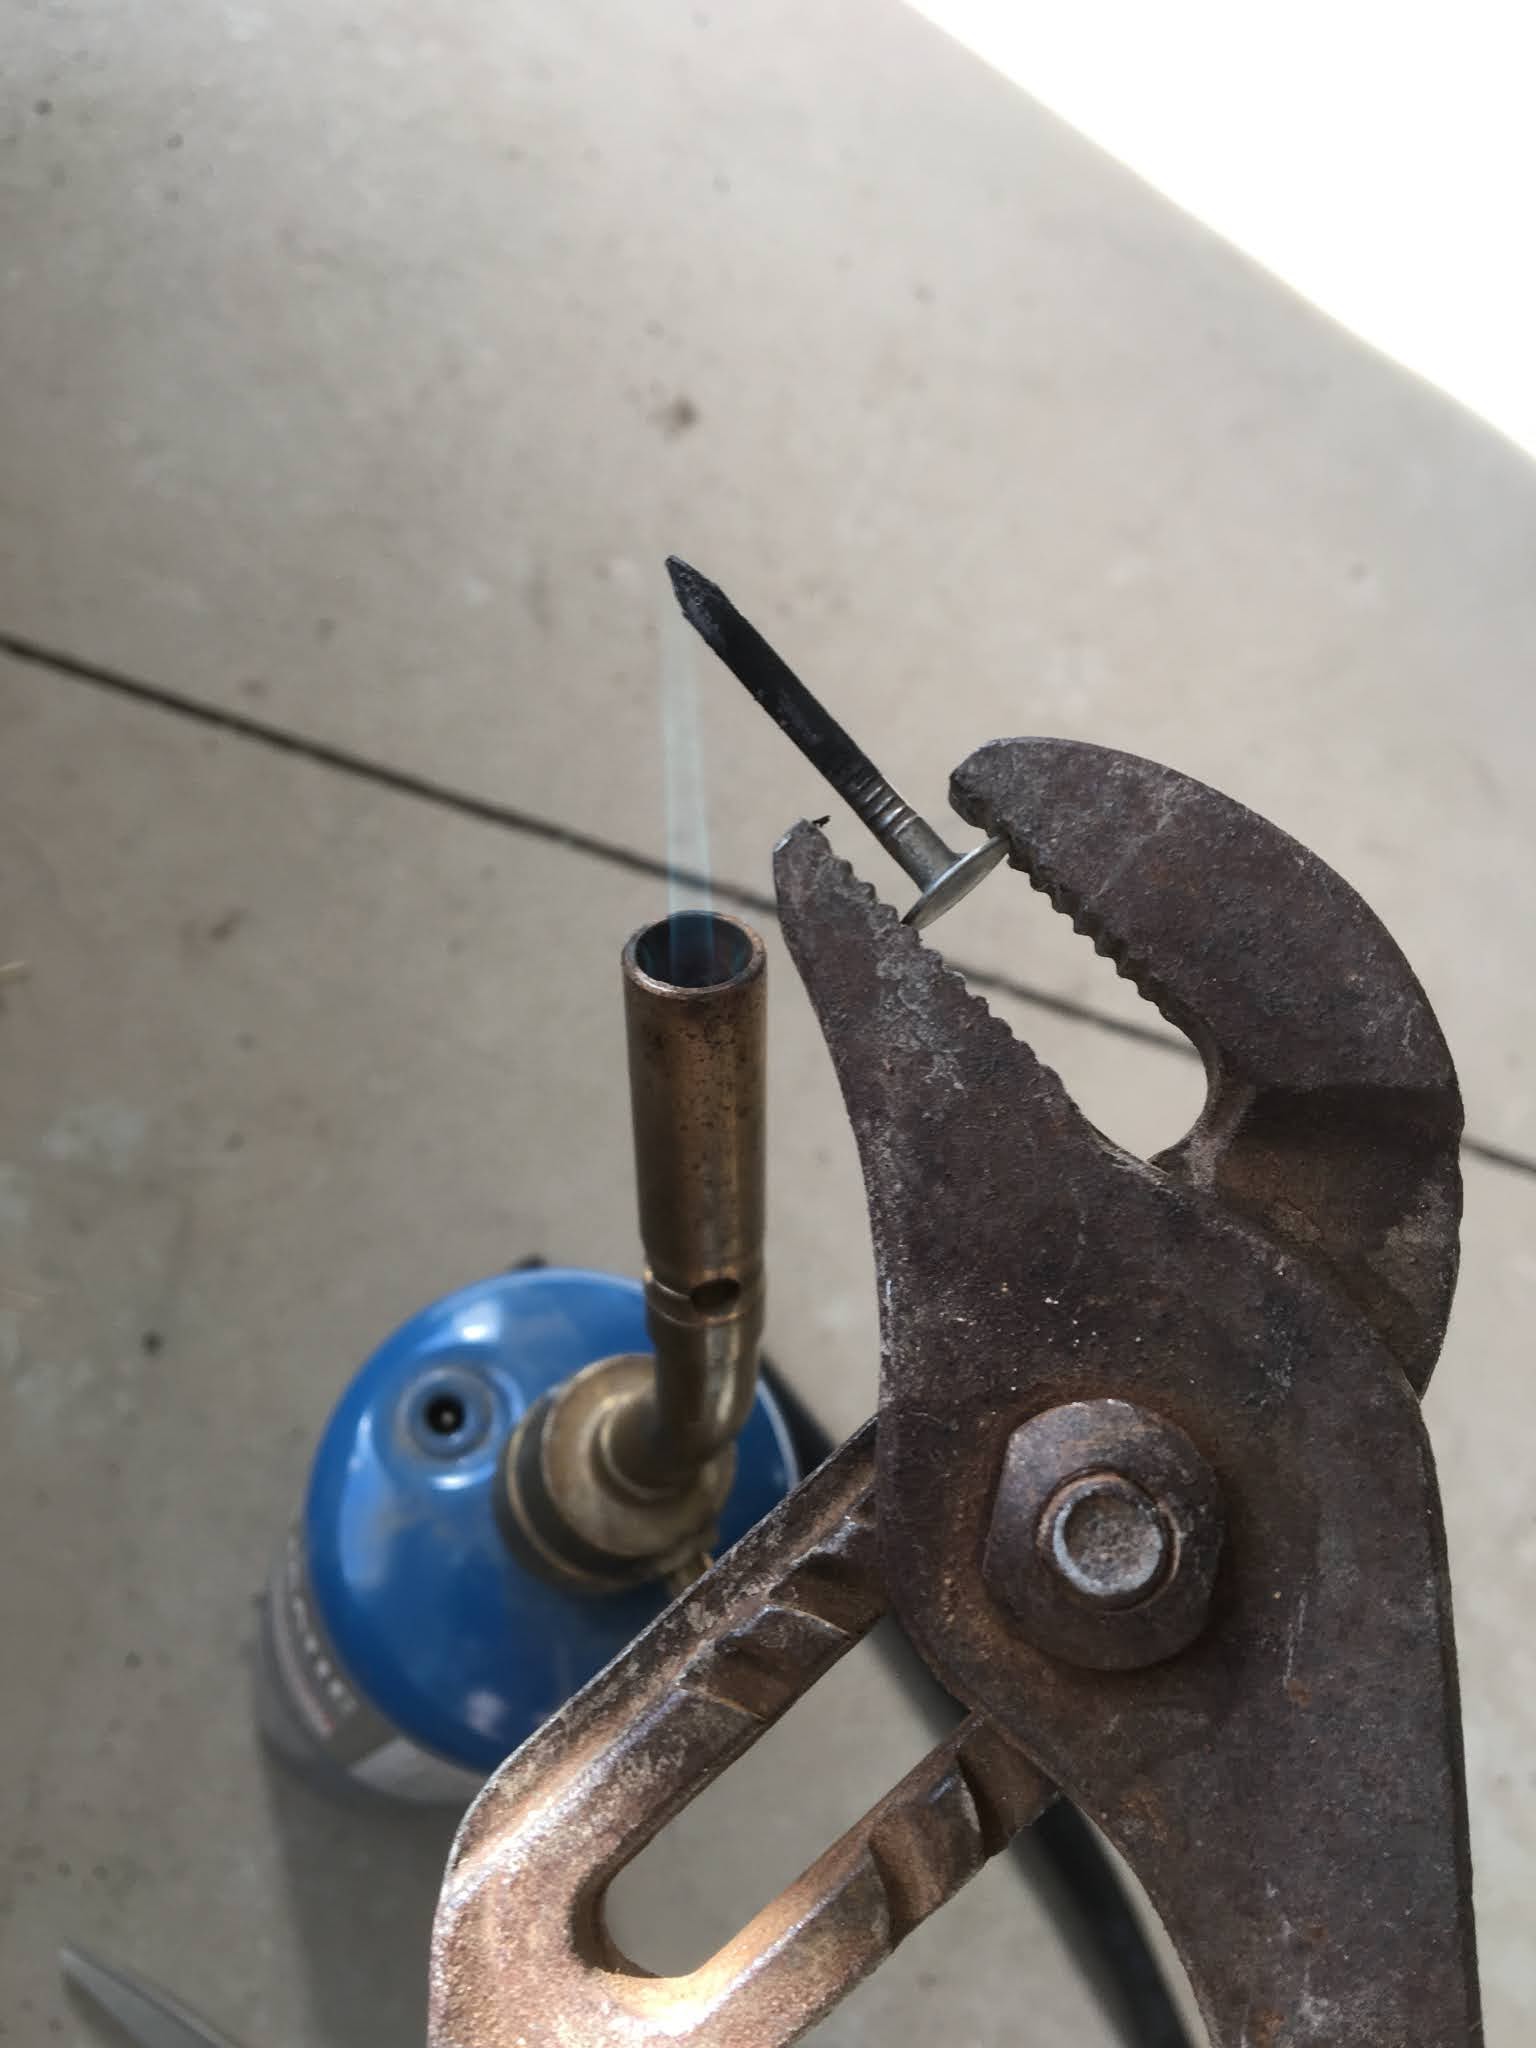
 |
| Pulling a thorn in preparation for installing 29er tube in 4.6" fat bike tire. |
Frame protection (Use Those Tubes!)
I think by now most people know about using hose clamps for adding additional bottle mounts etc. But use an old inner tube to wrap your frame. It not only protects but adds a bit of a base and actually solidifies the mount.


Catcher Strap
Because "when" the OEM plastic mount breaks, you lose the velcro strap too. I don't want to lose my pump! The upper 'catcher' strap is an old snowshoe strap I've held onto for 40+ yrs. Make sure you go around the seat tube or whatever tube you're using when strapping it.

Tape. Of Course.
I have Tyvek tape wrapped on my paddle and nalgene bottles for a quick boat patch. The Tyvek is also really good for a tent hole patch. Gorilla tape on my bars. I've used it for everything including a tire boot.

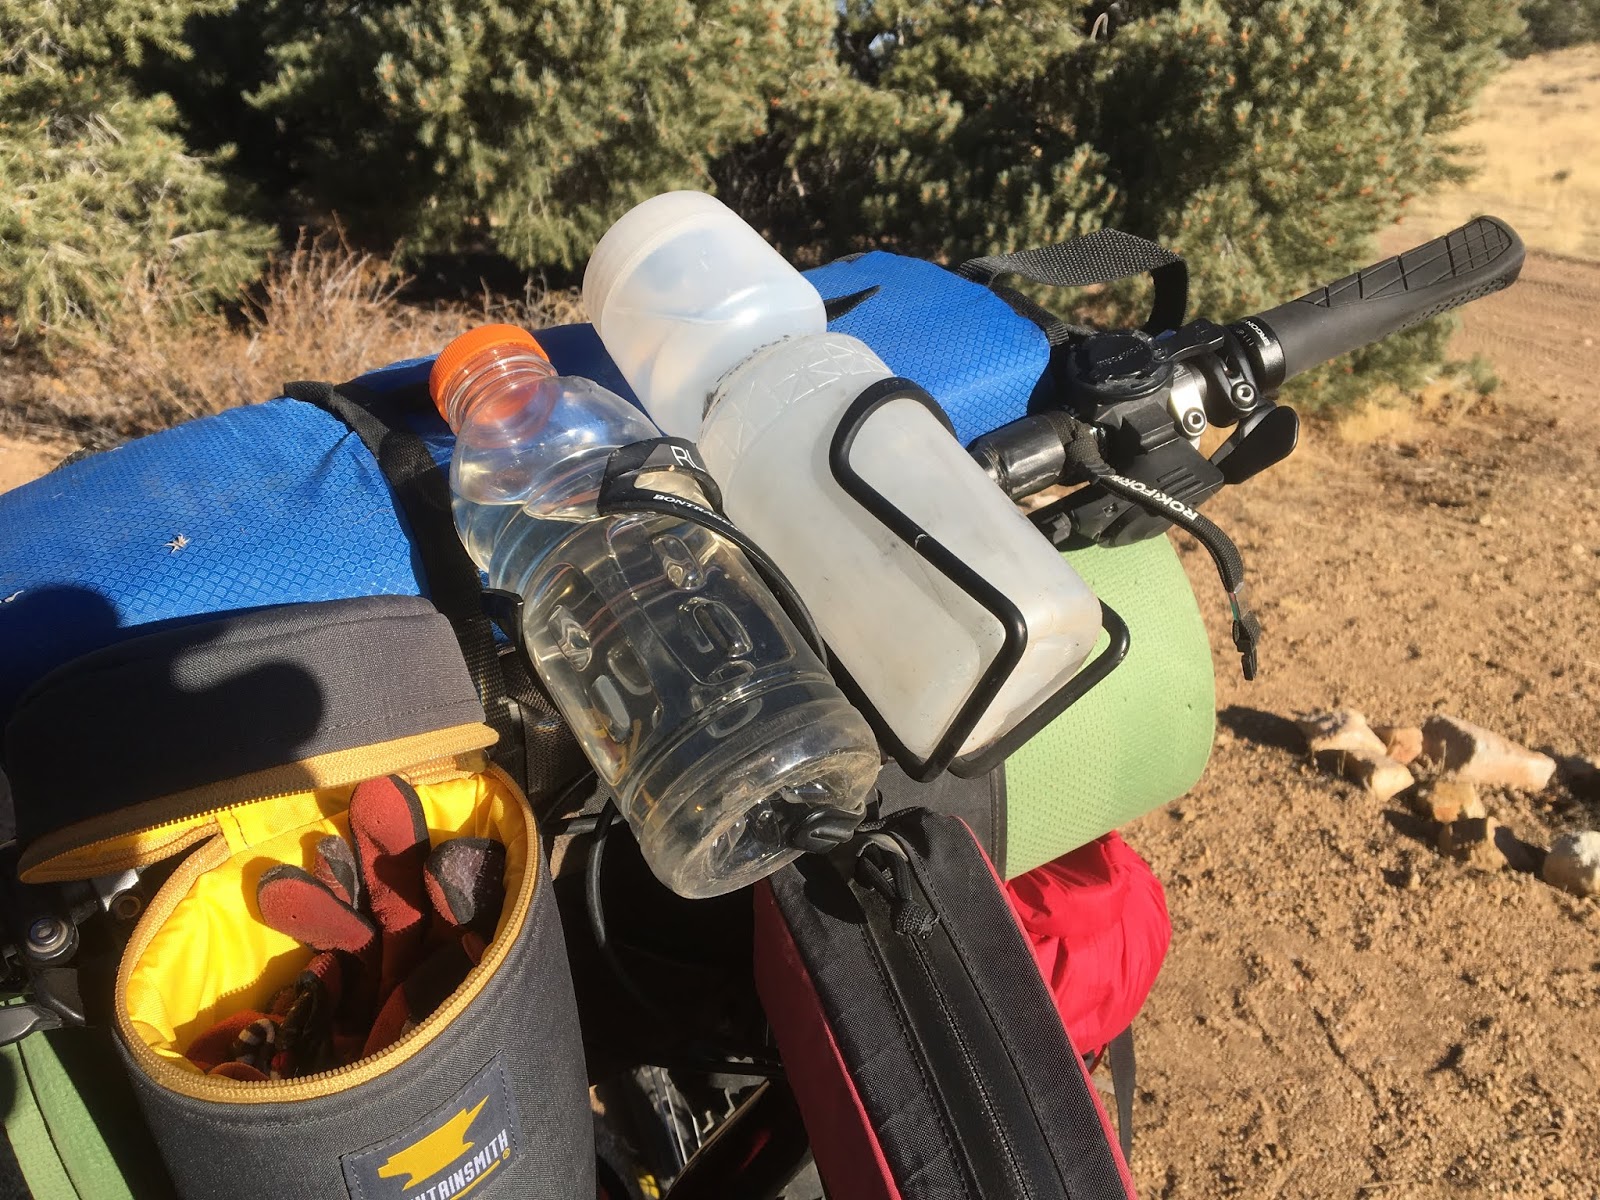
Added bottle capacity
With a King Cage stem cap bottle mount and a double bottle adapter found on Ebay, Ali Express and now Amazon, I can have 2 water bottles or sometimes water and fuel mounted up on my stem cap. I found I like this better than a camelback and the fuel doesn't take up space in a bag or pack.
Update: I now have a carbon fork on my fatbike and have discontinued using this system on this bike. It's difficult to get the top cap tight enough without over torquing the compression plug used in carbon forks. It still works great on my aluminum steerer tube forks.


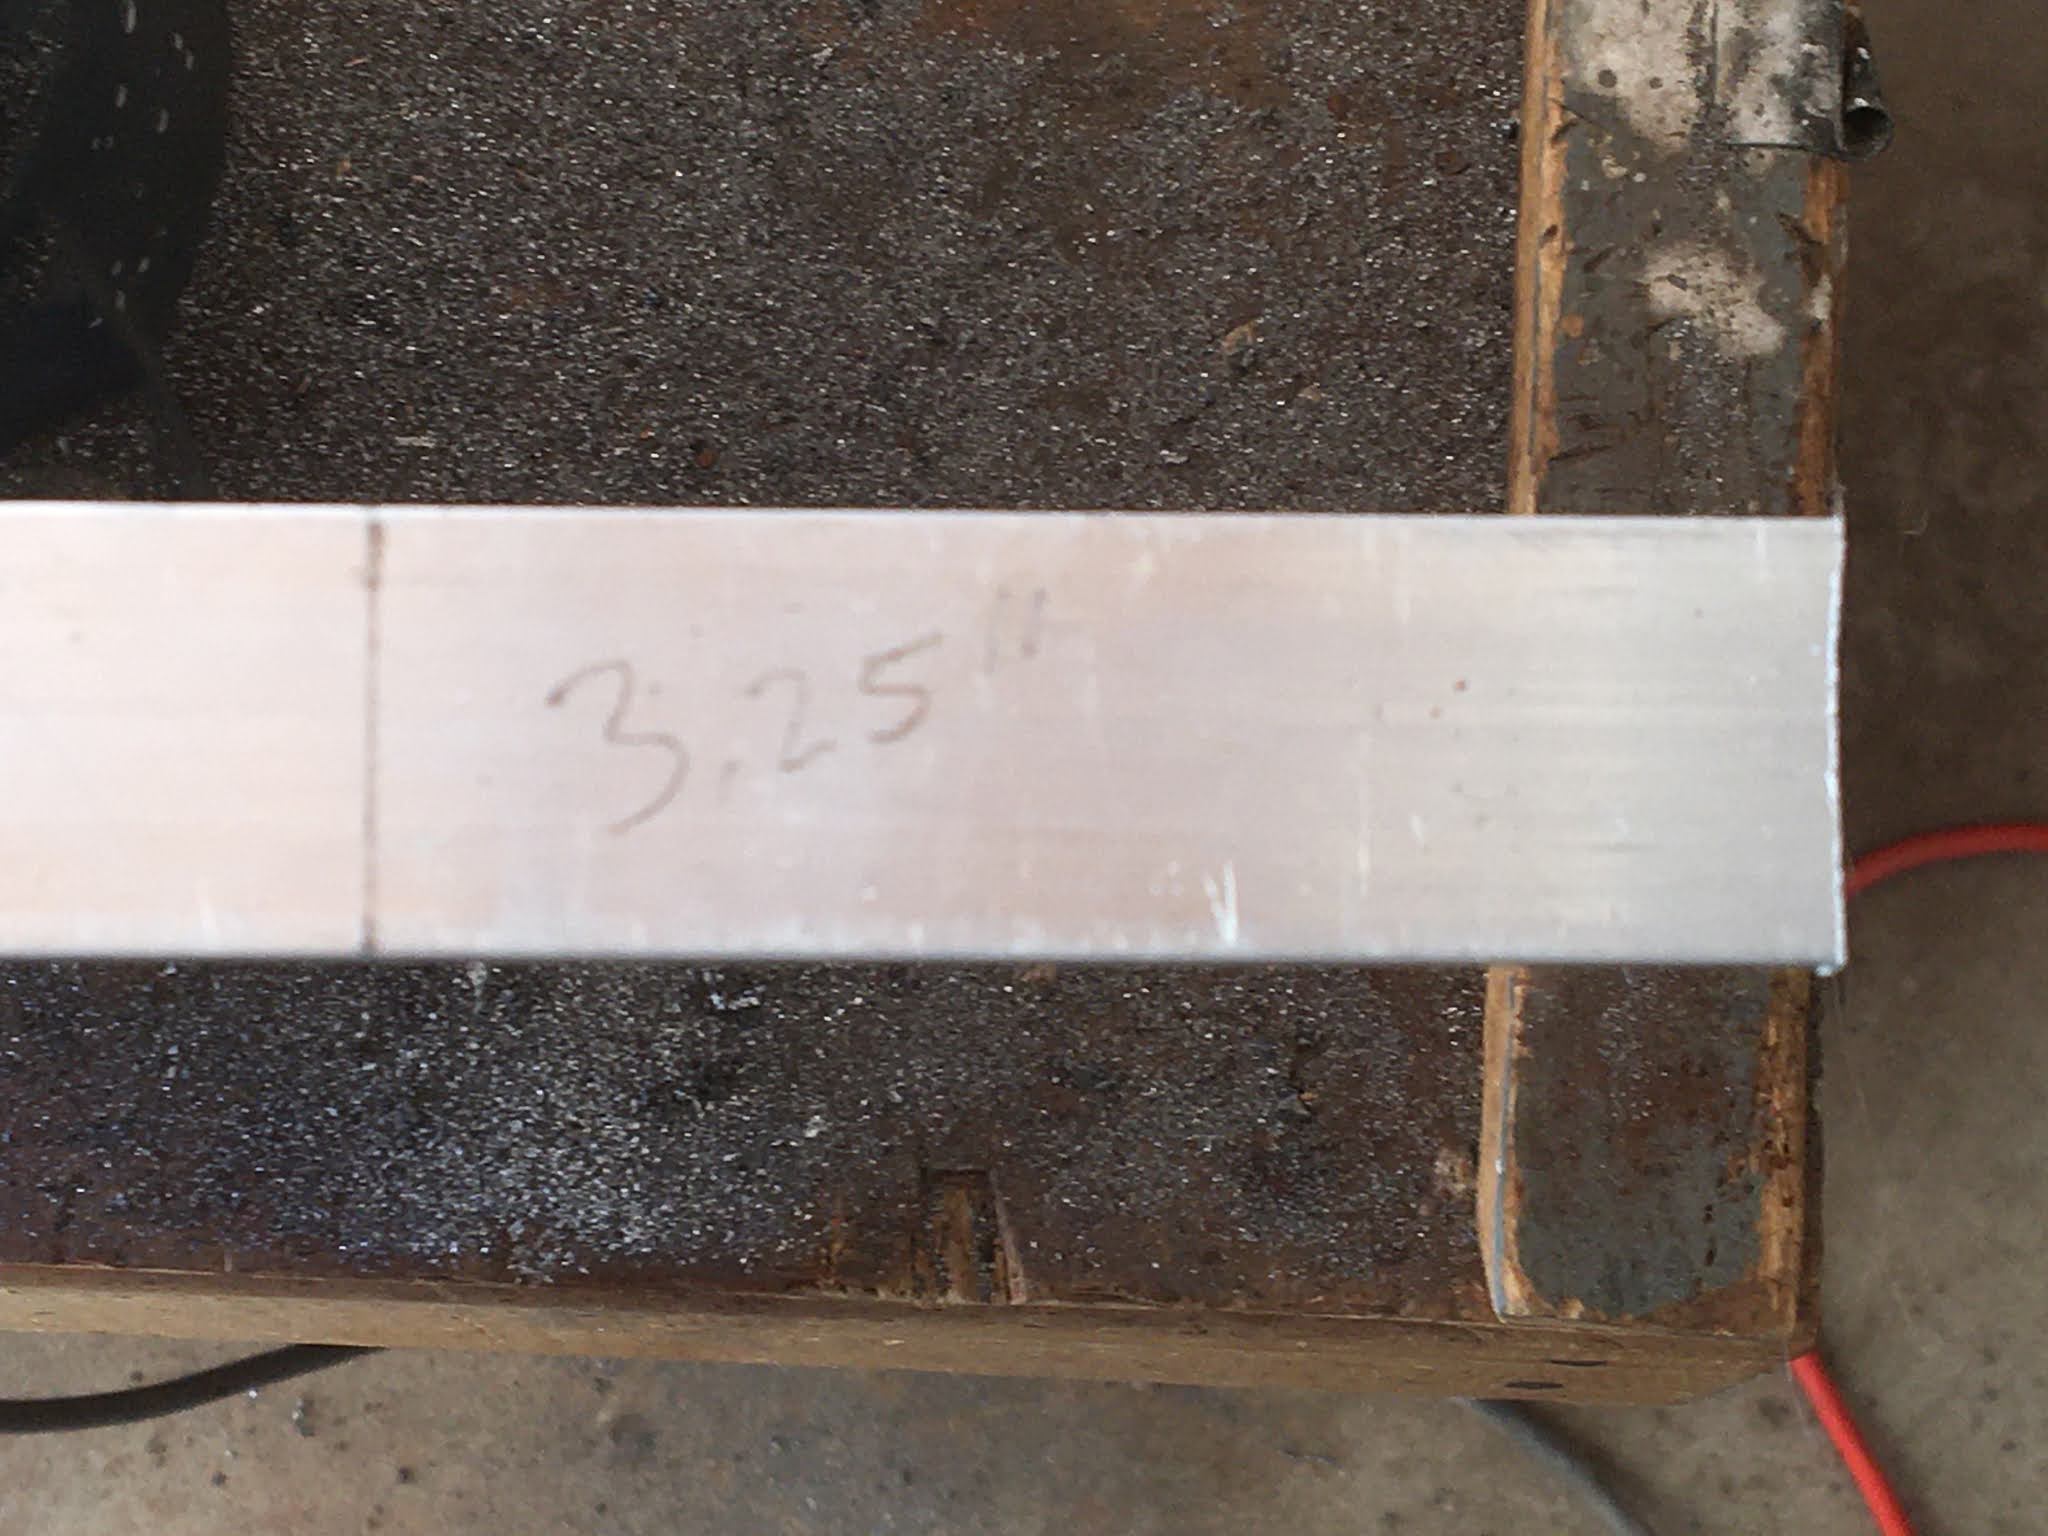
3 Bolt Cage Mounts
I recently fabricated some 3 bolt bottle cage mounts. This allows me to mount a 3 bolt cage on my fat bike suspension fork. Or anywhere you want a cage. 1"x 1/4" aluminum flat stock. I didn't photograph the process but it was pretty simple. I also had to purchase a M5x.08 thread tap. I cut 2 strips 7" long from the aluminum flats. I then located and marked the hole locations. I referenced this chart for drill bit size. Of course I didn't have a metric drill bit so I used 5/32. I think...(I'll double check this later but it's not that hard to figure out, bits in hand.) After drilling I tapped using the M5x.8 tap. Aluminum is quite soft so get it started straight. After tapping I marked some locations for cut outs on each side of the strips. 3 on each side. In my mind this was for added security that the mounts wouldn't slip after mounting. It's probably not strictly necessary. I drilled small holes along the cut out lines then cut them out with a wood chisel, yes I said wood chisel. I cleaned up all the cuts with a bit of filing and mounted them with hose clamps. Don't forget to "use those tubes" to protect your fork or frame. One additional note, on one side I used 3 hose clamps. In the event any one should break, I have a spare. 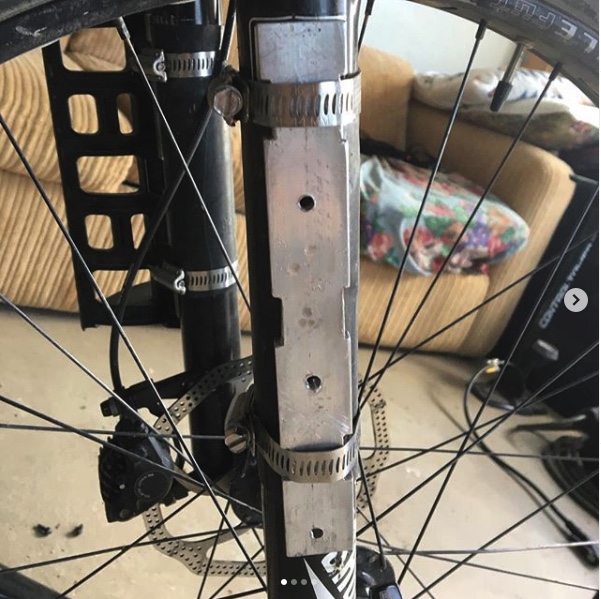

More 3 bolt Cage Mounts
Feed Bag

Pack Towel

If you have 2 bolt water bottle cage mounts or if you have none. Rivnuts are a potential way you can add a 3 hole mount for the more sturdy 3 hole mount cargo cages. I added a hole to my Surly and all three holes to Joannie's Framed Fat Bike which had none. Obviously don't try this with a Carbon or Titanium frame.
Feed Bag
I ended up using an insulated water bottle parka for a feed bag (stem bag). They have a long reinforced velcro closure that keeps them mounted firmly on the bars without need for a stem strap. Note that I only use them for bikepacking which means I have a front harness installed. Without the harness you would likely need a stem or head tube strap due to the bag rolling around the handlebar. They are deeper than a traditional feed bag, have a zipped lid to keep mice and other critters out while you sleep, are insulated for cold temps, and are sized for a 32oz nalgene giving you the option for another water bottle up there. AND, they're cheaper than traditional feed/stem bags. A win-win-win IMO. I have a Mountain Smith available from Sportsman Warehouse and an OR. Both are good. The Mountain Smith is deeper and cheaper while the OR is probably a little better insulated. They are both carryover's from my mountaineering days. Rock climbing chalk bags also work well for this.

Pack Towel

These are quite large and I ended up cutting mine down considerably. As a bonus, you get to walk around camp randomly yelling out ShamWow!
Update: I discontinued using these as they are just too sticky, ie: they ball up when trying to use them. I miss yelling out ShamWow! though.


Tubeless Plugs - This is Gold!
Never run out of tubeless plugs again. Use any old used cotton T-shirt to make tubeless plugs that actually work! Cut small rectangles about 1/4 - 1/2 inch wide and about 2" long. You don't have to get scientific about it. Use the same insertion tool that came with your Genuine Innovations repair kit or anything similar. You MUST have liquid sealant in the tire! Insert the cloth plug in the hole and voila! This actually works great, I've done it. I ran it this way for a year before I finally took the tire off and patched it from the inside. I gleaned this tip online but waited for the opportunity to try it before recommending it here. Note that I have only used it with latex type sealants. I don't know how or if it works with other types.


And Speaking of Tubeless
See this page for a tutorial based on what works for me. Included is a home brew tubeless sealant mix that I use exclusively and works at least as well as Stan's.
Adapting Salsa Anything HD cage to carry additional bottle cage
Basically I just made a strip similar to the 3 hole cage mount described above using the same 1"x 1/4" aluminum strip I already had from that project. But instead of 3 holes I drilled and tapped 2 using a standard bottle cage hole pattern. I offset the holes from center to allow for maximum mounting options. Using an old road tube for a protective condom, I slipped the new adapter/backing plate into the inside of the Salsa cage and bolted the bottle cage to the outside. I found some spacers to go behind the bottle cage to prevent over tightening of the cage bolts. Note that this may not give you enough tire clearance unless your fork mounts face more forward or rearward vs straight out.
Update: Since originally publishing this I've also made this mod on Topeak Versacages and made 3 hole strips but cut the 1" aluminum strip in half down the middle so that it's only 1/2" wide. I mounted a King Cage, Manything cage and Widefoot cages in this manner to both the Salsa and Topeak cages and have done a number of trips this way. Works great!
Update 2023: I since changed the material from aluminum to steel. The aluminum kept stripping the threads and there is little weight penalty. The steel is thinner at 1/8" thick and 1/2" wide and so far has held the threads cut into it.


 | |
| This picture was taken before spacers were installed. |
Spacers need to go between the cage and new adapter.
Backup Navigation device
Agonizing over what to do for backup navigation? Yeah me too. I don't find Garmin, Wahoo etc to be all that exciting for route navigation, I don't like the maps. And they're stupid expensive. They do great for recording your track and every statistic you could possibly want. Me? I want to download a track or tracks and follow it with an intuitive interface I'm familiar with. Then it finally hit me! I bought a used unlocked smart phone that can use wifi, In my case I purchased another iphone 6S and it was under $100, $102 including shipping. It of course has no sim card and I don't plan to activate it. It can do everything your primary cell phone can do except make a call. You can download your apps, maps etc normally on wifi and use it for navigation via satellite GPS just like any GPS device. And there are plenty of apps for recording your ride and statistics as well. Now I can use it as my primary navigation device and keep my primary phone safely tucked away in my bags. I got mine here. See this page for my preferred navigation method.
Update: I somehow managed to disregard Iphone 6S's crappy battery issues when buying it for this use. Currently doing more research to get a different used phone for navigation.
Update: Ended up with Google Pixel 3AXL from the above referenced used phone site. Way better battery life but discovered some of Gaia's features aren't available on Android systems. Most notably for me, mile markers on the maps.
Update I've been using a Coros Dura for my primary navigation device. That said I still use a used phone from the above source for my primary phone.
Rear Rack
Not really a tip or trick but something I've found very useful. A rear rack allows use of your dropper post, is easy to access and easy to load. Easier than a seat pack imo. This rack is super minimal and the gold here is that the braze ons for 3 pack cages are mounted at an angle which allows for my custom modified Topeak and Surly double cages to mount without tire interference.

This rack is custom made by a friend so not commercially available but maybe you know a guy? There are a few commercially available minimum style racks now also. Only the rack and lower legs were made by my friend. I fabricated the upper struts with some aluminum bar stock and stainless steel nuts I had laying around. The white plastic (cut milk bottle) acts somewhat as a fender and a base for strapping my tool kit. I am replacing it with a cut piece of leftover ABS plastic I purchased for another project. Note that Salsa makes strut mount kits and struts as well as seat collar mounts.


Riding Gloves
For various reasons I like using riding gloves, but that's not the point of this tip. If, like me you're sick of buying stupidly expensive gloves that wear out before the end of the season try this. Go down to Home Depot, Tractor Supply, Harbor Freight etc and find the thinnest mechanic gloves they have and give them a try. I'm currently using these from Tractor Supply ($9) and they show no signs of wearing out after several hundred miles. I'm sure they will and when they do I'll be much less frustrated replacing them for $9 vs $25 and up for bike specific gloves.

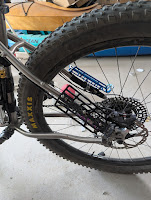
Yet more cage mounts!
One of my bikes came with 2 hole bottle bosses on the seat stays. This works great for regular bottle cages and provides adequate heel clearance. But sometimes I like to add 3 bolt cargo cages for a dry bag etc. I used a couple of my bottle cage adapters shown above (Added bottle capacity) to create a 3 bolt mount for a cargo cage. First I Used Those Tubes (as above) to wrap the seat stay where I would be mounting the cage cutting out around cable bosses etc. Then I used a hose clamp to mount the adapter so that my cage would use the bottom OEM bottle boss for it's top mounting hole and the adapter threaded holes for the middle and bottom. It's super solid and with the lower mounting position I still have adequate heel clearance. Note that you may need to use a low profile cage like my Widefoot or it might have interference with the tire. But it's just another idea you can try. For me and my bike geometry it works great!


No comments:
Post a Comment